Photo-eye sensors on commercial overhead doors prevent the door from closing on obstructions by creating an invisible infrared beam between two units mounted on either side of the door opening. When the beam is interrupted, the door stops and reverses. Misalignment breaks this beam, causing the door to refuse to close, close only when the wall button is held, or reverse immediately after hitting the floor. You’ll often see flashing lights on the sensor housings or hear the motor run briefly before stopping. The issue is almost always mechanical bumping, vibration, or dirt on the lenses.
Checking Sensor Indicator Lights
Most commercial sensors have LED indicators: one solid green (power) and one solid or blinking amber/yellow (signal reception). If the receiving sensor’s light is off, flickering, or blinking rapidly, the beam is blocked or misaligned. First, wipe both lenses with a dry microfiber cloth—dust, spiderwebs, or condensation scatter the IR beam. Then verify both units are securely mounted to their brackets; loose screws let them drift. If the amber light stays off after cleaning, proceed to alignment.
Tools and Safety Preparations
You need a screwdriver (usually Phillips or flathead matching the mounting screws), a tape measure, and a level. Disconnect power to the door operator at the disconnect switch or circuit breaker before touching sensors—this prevents unexpected movement if the door is triggered during work. Never work on sensors while the door is powered and in motion. Confirm the door is fully closed and secured. Wear safety glasses; lens cleaning solvents can irritate eyes if splashed.
Horizontal Alignment Procedure
Loosen the mounting screws on the receiving sensor just enough to allow lateral movement—do not remove them. While observing the amber LED, slowly slide the sensor left or right until the light becomes solid and bright. The sending sensor (usually green LED only) should remain fixed. Once solid, tighten the screws while holding the sensor in place. Recheck the light; tightening can shift the unit slightly. If the light flickers or dims after tightening, loosen and repeat. The goal is a steady, maximum-brightness signal with no blinking.
Vertical Alignment and Beam Height
Sensors must be mounted at the same height, typically 6 inches above the floor for commercial doors, to catch low obstructions like pallets or dollies. Use a tape measure to verify both sensor centers are equidistant from the concrete. If one is higher, loosen its bracket and adjust vertically until level. A small torpedo level placed on the sensor housing helps confirm plumb. After vertical adjustment, recheck horizontal alignment, as changing height can affect side-to-side aim. Both axes must be correct for reliable beam contact.
Testing the Safety Circuit
After alignment, restore power and operate the door via the wall button or remote. The door should close fully without reversing. Place a solid object (like a 2×4) in the beam path halfway down—the door must stop and reverse within two seconds. If it does not, the sensors may still be misaligned, or the wiring could be faulty. Never bypass the safety circuit; doing so violates CSA standards and creates a serious entrapment hazard.
When Alignment Isn’t the Problem
If lenses are clean, securely mounted, and properly aligned but the amber light remains off or erratic, inspect the wiring. Look for crushed, pinched, or chewed cables where they run along the track or ceiling—common in warehouses with rodent activity or moving equipment. Check connections at the sensor terminals and the operator’s control board for corrosion or looseness. A multimeter can test for continuity, but if you’re not trained in low-voltage control circuits, stop here. Misdiagnosis can lead to unnecessary part replacement.
DIY Limits and When to Call a Technician
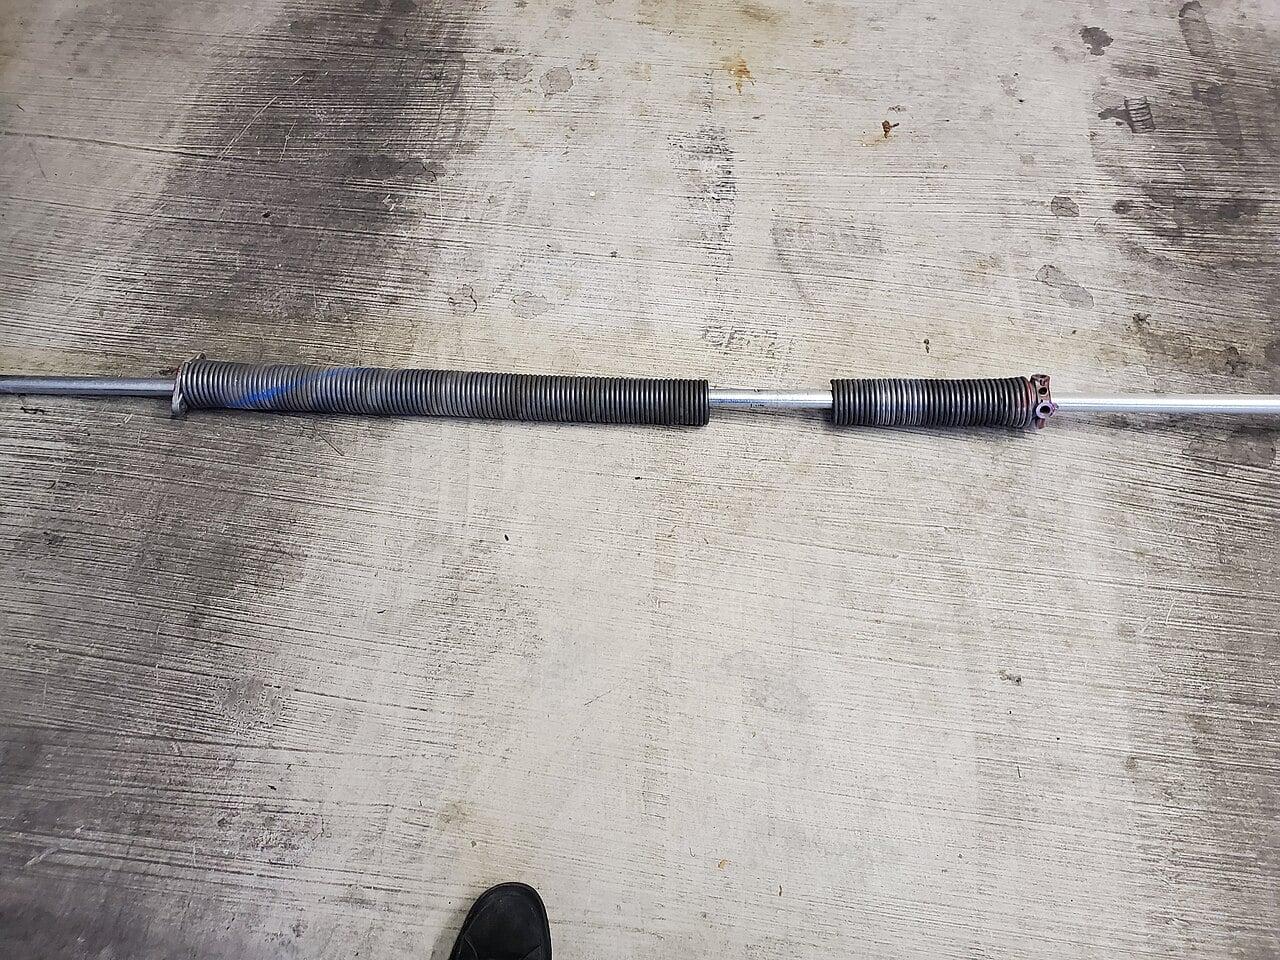
Aligning sensors is a routine maintenance task within the scope of facility staff, provided you follow lockout/tagout procedures and avoid touching anything under tension. However, if the door operator shows error codes, the motor overheats, or the door moves unevenly, those indicate mechanical or electrical issues beyond sensor adjustment. Torsion springs, cables, and roller assemblies store lethal energy—never attempt to adjust or repair them. The same applies to the operator’s drive gear or brake mechanism. If sensor alignment doesn’t resolve the issue after two attempts, or if wiring appears damaged, contact a commercial door specialist.
Frequently Asked Questions
### How often should commercial door sensors be checked?
Inspect sensors monthly as part of routine preventive maintenance—clean lenses, verify mounting tightness, and observe indicator lights during operation. High-traffic or dusty environments may require bi-weekly checks.
Can sunlight interfere with sensor beams?
Direct sunlight can overwhelm the infrared receiver, causing false obstructions. This is rare in indoor commercial settings but possible in doors with significant glazing or low-angle morning/evening exposure. Shielding the sensors with a small visor or relocating them slightly inward can mitigate this.
What does a steady red light on a sensor mean?
A steady red light typically indicates power is present but no signal is being received—either due to misalignment, obstruction, or wiring fault. Consult your specific sensor model’s manual, as LED color codes vary by manufacturer.