Limit switches on a commercial overhead door control how far the door travels in the open and closed positions. They are typically mounted on the trolley or header and physically engage with a cam or arm attached to the door’s drive mechanism. When the door reaches its set point, the switch trips, cutting power to the motor. If the door stops too soon or travels too far—slamming into the floor header or leaving a gap at the threshold—the limit switches likely need adjustment.
Identifying Limit Switch Types and Location
Most commercial operators use either rotary or linear limit switches. Rotary types are adjusted via screws on the motor housing that turn a dial indicating open and closed positions. Linear switches slide along a rail and are set by loosening mounting bolts and repositioning the switch body. On a hinge-style commercial door—often a high-lift or vertical-lift configuration—the switches are usually on the operator header, connected to the same shaft driving the trolley. Trace the door arm or chain/cable to the motor unit; the switches will be in a small box with two adjustment points labeled ‘open’ and ‘close’.
What Happens When Limits Are Out of Adjustment
If the close limit is set too far, the door presses into the floor seal or header, causing the motor to stall, the belt to slip, or the safety edge to trigger repeatedly. You’ll hear the motor strain or see the door buckle slightly at the bottom. If set too short, the door stops inches above the floor, leaving a gap for weather, pests, or security risks. On the open side, over-travel can cause the door to hit the header or backhang, damaging panels or the top roller assembly. Under-travel leaves the door short of full height, interfering with dock equipment or vehicle clearance.
Checking the Current Settings Safely
Before adjusting, disconnect power to the operator. Manually lift the door to the fully open position and note where it rests relative to the header. Then lower it to the floor and check for even contact across the width—no binding or lifting. Use a tape measure to record the distance from the floor to the bottom of the door at full open and the gap at full close. These measurements give you a baseline. Reconnect power and run the door through a cycle, observing where it stops. Compare the stopping point to your manual measurements.
Adjusting Rotary Limit Switches
On rotary systems, locate the two adjustment screws—usually one for open, one for close. Turning the screw clockwise typically reduces travel (door stops sooner), counterclockwise increases it. Make quarter-turn adjustments, then test the door. After each change, run the door fully open and closed to verify. Do not force the screw if it feels tight; stripped threads can cause erratic behavior. If the door reverses or stops mid-cycle after adjustment, recheck the safety sensors—they may be falsely triggered by door vibration or misalignment.
Adjusting Linear Limit Switches
For linear switches, loosen the mounting bolts just enough to allow movement. Slide the switch body toward the motor to decrease travel or away to increase it. Use the scale on the rail as a reference, but rely on actual door position. Tighten bolts securely after adjustment—vibration can loosen them over time. Test the door at least three times to confirm consistency. If the switch does not trip reliably, inspect the actuating cam or arm for wear; a worn cam may not engage the switch plunger fully.
When Adjustment Isn’t Enough
If the door position changes after adjustment, or if you find yourself constantly resetting the switches, the issue may be mechanical. Check for loose drive chains, worn sprockets, or slipping belts. In hinge doors, inspect the top roller assembly and vertical track for binding or deformation. A sagging door due to worn hinges or insufficient counterbalance will shift position under load, making limits appear to drift. Never adjust limits to compensate for a door that is out of balance or dragging—it masks a deeper problem.
Safety Warnings: What Not to Touch
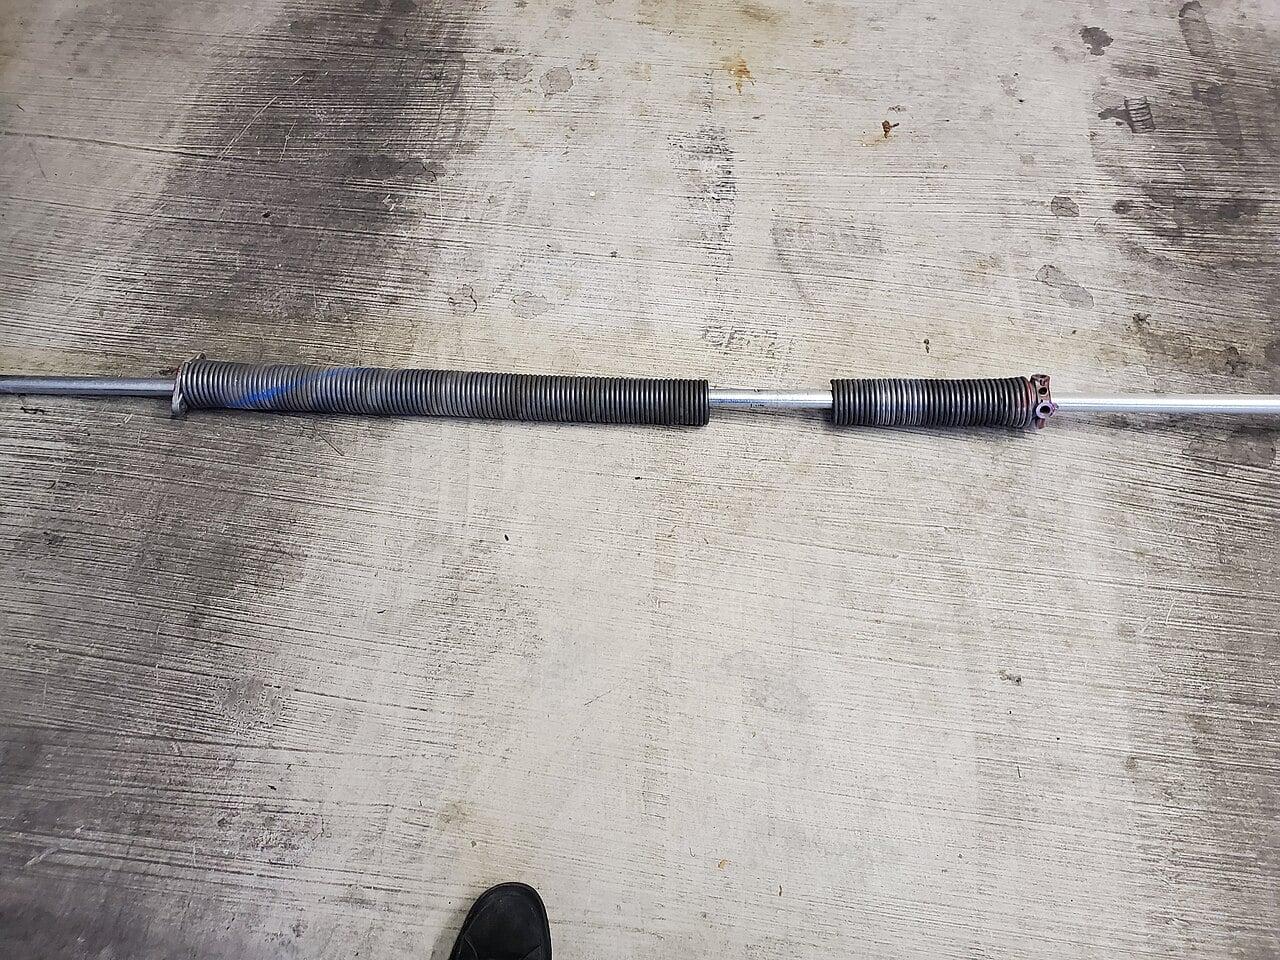
Do not attempt to adjust torsion springs, cables, or anything connected to the spring shaft. These components store lethal energy and can cause severe injury or death if released unexpectedly. If the door feels heavy, moves unevenly, or shows signs of spring wear (gaps, elongation, rust), stop and call a qualified technician. Limit switch adjustment is a low-voltage control task; spring and cable work is not. If you’re unsure whether a part is under tension, assume it is and leave it alone.
Frequently Asked Questions
### How often should limit switches be checked on a commercial door?
Check limit switches quarterly as part of routine maintenance, or after any impact, power outage, or adjustment to the door mechanism. Seasonal temperature changes can also affect door travel slightly due to material expansion.
Can a faulty limit switch cause the door to reverse unexpectedly?
Yes, if the close limit is set too far and the door hits the floor with excess force, the safety edge or motor overload may trigger a reversal. Similarly, an open limit set too short can cause the door to stall and reverse if it encounters resistance before reaching full height.
What tools are needed to adjust limit switches on a commercial overhead door?
Typically, you’ll need a screwdriver (flathead or Phillips, depending on the screw type), a wrench or socket for linear switch bolts, a tape measure, and a marker or chalk to reference positions. Always use insulated tools if working near live components, though power should be disconnected during adjustment.