Limit switches on a commercial overhead door opener tell the motor when to stop at the fully open and fully closed positions. If the door doesn’t open high enough, slams into the header, or fails to close completely and reverses, the limit switches likely need adjustment. This is a common issue after power interruptions, motor replacement, or when the door binding changes due to worn rollers or misaligned tracks. The switches are typically mounted on the opener shaft or inside the control box and are adjusted by turning screws that change the position of cams or levers as the door moves. Before touching anything, disconnect power to the opener at the disconnect switch or breaker—never rely on the wall button alone. Manually lift the door to the midpoint; if it stays put, the springs are balanced. If it drifts up or down, do not proceed—spring tension is hazardous and requires a technician.
Identifying the Limit Switch Assembly
On most commercial jackshaft or trolley-style openers, the limit switches are located on the end of the motor shaft, accessible after removing a cover panel. You’ll see two adjustable screws or nuts labeled ‘up’ and ‘down,’ each connected to a cam that rotates with the shaft. As the door travels, these cams bump micro-switches that cut power to the motor. Over time, vibration can cause the screws to loosen, letting the cams shift and altering the stop points. Inspect for wear on the cam edges or switch actuators—if they’re cracked or flattened, replacement is needed, not just adjustment. Use a marker to note the current position before turning anything so you can return if needed.
Adjusting the Up Limit (Open Position)
If the door stops short of full open or hits the header and reverses, the up limit needs change. With power restored briefly, run the door to open and observe where it stops. Turn off power again. To increase open travel (door goes higher), turn the up-limit screw counterclockwise—this delays when the cam hits the switch. To decrease travel (door stops lower), turn it clockwise. Adjust in quarter-turn increments. After each change, restore power briefly, test the open cycle, then disconnect again. Listen for the motor to cut out cleanly—not strain or buzz—when the door reaches the desired point. If the motor strains before stopping, you’ve gone too far; back off.
Adjusting the Down Limit (Closed Position)
If the door doesn’t seal at the bottom, leaves a gap, or reverses immediately after touching the floor, the down limit is likely set too high (door thinks it’s closed too soon). To increase down travel (door closes lower), turn the down-limit screw clockwise. To decrease travel (door stops higher), turn it counterclockwise. Again, use quarter-turns and test after each adjustment. The door should contact the floor firmly but not buckle the bottom seal or strain the motor. If it reverses on contact, the down limit may be too far down, triggering the safety reverse—back it up slightly. Never rely on the force adjustment to compensate for a mis-set limit; that masks the problem and increases wear.
Checking Related Components
Before assuming the limit switches are at fault, rule out mechanical issues. Inspect rollers for flat spots or seized bearings—bad rollers increase drag and can mimic limit problems. Check that the door moves smoothly by hand when disconnected from the opener. Look at the top roller track for gaps or bends near the header; if the door binds there, it may never reach the true open point. Examine the bottom astragal and floor sweep—if they’re compressed or debris is caught, the door may appear short when it’s actually hitting obstruction. Lubricate pivot points and hinges with silicone-based spray; avoid grease on the track as it attracts dirt.
When Adjustment Isn’t Enough
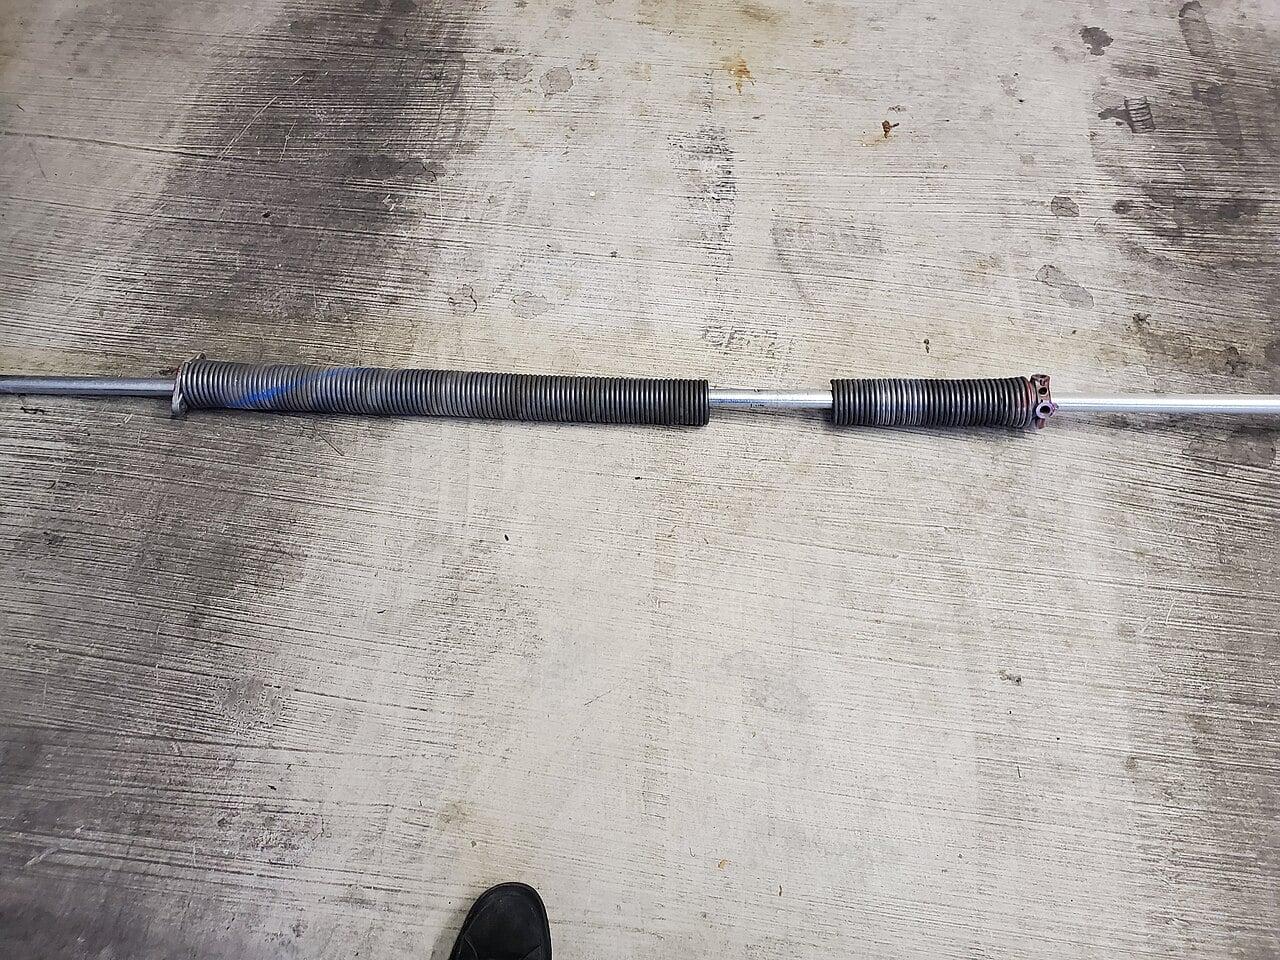
If turning the limit screws has no effect, the cam may be stripped, the switch faulty, or the shaft not rotating with the door—indicating a drive chain or belt issue. If the door moves but the shaft doesn’t turn, the problem is upstream. If the motor hums but doesn’t run, check for blown fuses or tripped overloads in the control box. Never attempt to adjust or service torsion springs, cable drums, or the spring anchor bracket—these are under extreme tension and can cause severe injury or death. If the door is unbalanced, springs are broken, or you’re unsure about any component under load, stop and call a qualified technician. Commercial doors often use high-cycle springs rated for 25,000+ cycles; replacing them requires proper winding tools and expertise.
Frequently Asked Questions
How do I know if the limit switches are bad vs. just needing adjustment?
If the door consistently stops at the same point and the motor cuts out cleanly, the switches are likely functional but mis-set. If the motor runs past the set point, doesn’t stop at all, or stops intermittently, the switch or cam may be worn or defective. Swapping the up and down cams (if identical) can help test whether the issue follows the component.
Can I adjust the limits without powering the opener?
You need to cycle the door to test each adjustment, so brief power restoration is necessary. Always disconnect after testing and before making another change. Use lockout/tagout procedures if the facility requires it—treat the opener as energized until verified de-energized.
What tools do I need to adjust the limit switches?
Typically, a flathead or Phillips screwdriver matches the limit adjustment screws. A marker helps record starting positions. A step ladder or lift may be needed to reach the opener unit safely. Never use impact tools—they can strip the cam screws or damage the switch housing.