Commercial overhead doors rely on a pair of photo-eye sensors mounted near the floor on either side of the opening to prevent the door from closing on people, vehicles, or equipment. These sensors create an invisible infrared beam; if the beam is interrupted, the door operator will refuse to close or will reverse immediately. Misalignment is one of the most common reasons a door fails to close properly, often showing up as the door reversing after hitting the floor or refusing to close at all, even with no visible obstruction. You’ll typically hear the motor run, see the door start to close, then stop and reverse — sometimes with a clicking or blinking indicator light on the operator unit.
Checking for Obvious Obstructions or Damage
Before adjusting anything, inspect the sensor lenses and the path between them. Dust, dirt, spider webs, or condensation on the lens can scatter or block the infrared beam, mimicking a misalignment. Wipe each lens with a dry, lint-free cloth — avoid solvents that could leave residue. Look for physical damage: a cracked lens, bent mounting bracket, or frayed wire can prevent proper function. Ensure nothing is leaning against the door track or sensor housing that could shift the sensor out of position. If the wiring is exposed, check for rodent damage or pinched sections, especially in older facilities where conduit may have degraded.
Understanding How the Sensors Are Mounted
Each sensor is housed in a adjustable bracket screwed to the door jamb or wall, typically 4 to 6 inches above the concrete floor. The sensors face each other, and alignment is achieved when both units are pointing directly at each other’s lens. Most commercial sensors have a visible indicator light — often green when powered and aligned, red or blinking when the beam is broken. Some models use a dual-light system: one light for power, another for signal reception. If the receiving sensor’s light is off or flickering, it’s not detecting the transmitter’s beam, which means either misalignment, obstruction, or failure.
Preparing to Adjust the Sensors
You’ll need a screwdriver (usually Phillips or flathead, depending on the mount), a level, and possibly a tape measure. Do not loosen the mounting bolts completely — just enough to allow slight movement. Start by verifying both sensors are at the same height; use a tape measure to confirm they’re equidistant from the floor. Even a 1/4-inch difference can prevent alignment due to the narrow beam angle. If one sensor is higher or lower, adjust its bracket until both are level. Once height is set, loosen the side-to-side adjustment screws just enough to allow gentle pivoting.
Aligning the Sensors Step by Step
With power on to the door operator, stand where you can see the receiving sensor’s indicator light. Gently pivot the transmitting sensor (usually the one with the steady light) while watching the receiver’s light. When the receiver’s light becomes steady — typically green or solid red, depending on the model — you’ve achieved alignment. Do not over-tighten the bolts once aligned; snug is sufficient. Vibration from door operation can gradually shift sensors, so check the tightness after a few cycles. If the light flickers or fails to stay solid, recheck height and ensure nothing is interfering with the beam path, including low-hanging cables or reflective surfaces that could cause false readings.
Testing the Door Operation After Alignment
Once the sensors show a steady alignment indicator, test the door. Use the wall button or remote to close the door. It should move smoothly to the floor and stop without reversing. If it still reverses, place a solid object like a cardboard box in the beam path — the door should reverse immediately upon beam interruption. If it doesn’t, the sensors may be faulty or the operator’s logic board may not be interpreting the signal correctly. Never test by placing a body part in the path. If the door closes despite an obstructed beam, the safety system is compromised and requires immediate professional attention.
When Sensor Alignment Isn’t the Problem
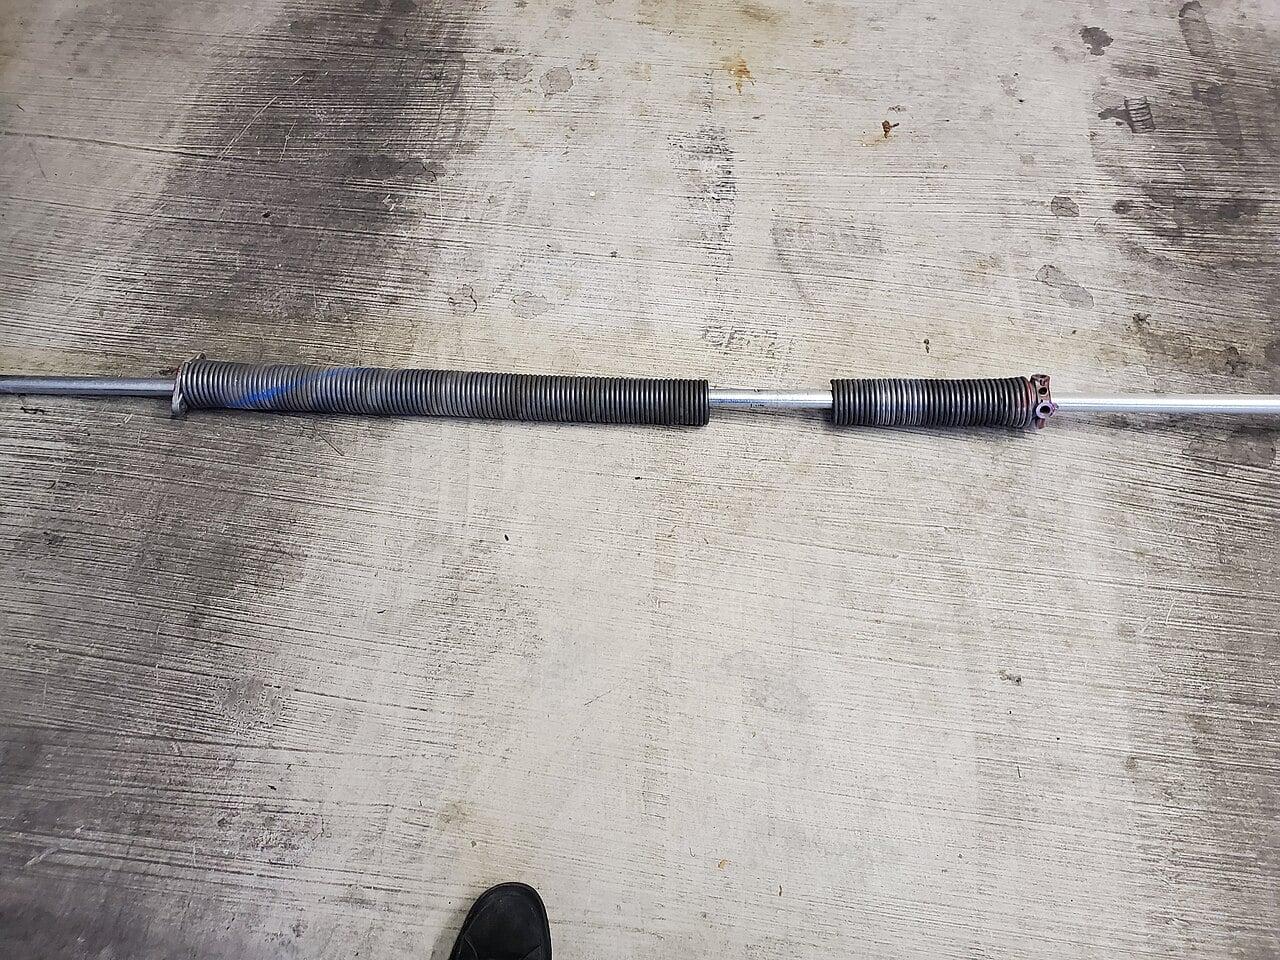
If the lenses are clean, undamaged, at the same height, and show proper alignment indicators but the door still refuses to close, the issue may lie elsewhere. Faulty wiring between the sensors and the operator, a damaged sensor unit, or a problem with the door operator’s input circuit can mimic sensor failure. In some cases, the door’s limit switches or torque settings need adjustment — but these involve components under spring tension and should not be adjusted by untrained personnel. Torsion springs, in particular, store lethal energy and must only be serviced by qualified technicians. Attempting to adjust them without proper training and tools risks severe injury or death.
Frequently Asked Questions
### How often should commercial door sensors be checked?
Inspect sensor lenses and alignment monthly as part of routine facility maintenance. In high-dust environments like woodshops or food processing plants, bi-weekly checks are advisable. Always verify after any impact to the door jamb or nearby equipment movement.
Can sunlight interfere with the sensor beam?
Direct sunlight can overwhelm the infrared receiver, especially on south-facing doors in BC summers. If the door only fails to close at certain times of day, consider installing sun shields — narrow tubes mounted over each lens to block ambient light without obstructing the beam.
What does it mean if one sensor light is off and the other is on?
The powered sensor (usually the transmitter) will have a steady light indicating it’s receiving power. If the receiver’s light is completely off, check for power at the unit, wiring continuity, or a failed sensor. Swap the sensors if possible to determine if the fault follows the unit or stays with the location.