Lubricating a commercial overhead door limit switch is a straightforward maintenance task that prevents premature wear and erratic door operation. The limit switch is a mechanical device mounted near the motor or shaft that physically stops the door at preset open and closed positions by tripping a lever or plunger. Over time, dust, grease buildup, and lack of lubrication cause the switch mechanism to stick or bind, leading to doors that overtravel, stop short, or cycle inconsistently. You’ll hear a clicking or grinding noise when the switch actuates, or the door may creep past its set point before stopping. Before starting, disconnect power to the door operator at the breaker—never rely on the stop button alone. Access the limit switch assembly, typically a rectangular or cylindrical housing with two adjustable screws or nuts for open and closed travel. Wipe away old grease and debris with a lint-free cloth; do not use solvents that could damage plastic components. Apply a small amount of NLGI #2 lithium-based grease to the plunger shaft, pivot points, and any sliding metal contacts—avoid getting grease on the electrical contacts themselves. Operate the door manually through its full cycle several times to work the lubricant into the mechanism, then reset power and test the limit settings. If the switch feels gritty, won’t move freely, or the door still doesn’t stop correctly after lubrication, the internal spring or cam may be worn and require replacement. Never attempt to adjust or service torsion springs, cables, or anything under torsional tension—these store lethal energy and must be handled only by trained technicians. Limit switch lubrication is a safe DIY task when power is isolated and you avoid the spring assembly. For persistent issues or if you’re unsure about accessing the switch safely, contact CCGDS at (604) 206-5727.
Identifying Limit Switch Location and Type
Limit switches on commercial overhead doors are usually mounted on the motor shaft or near the drive mechanism, often inside the operator housing. They appear as small black or gray boxes with two protruding screw heads or knobs labeled for open and closed travel. Some older models use a rotating cam with a lever arm; newer ones may have a linear plunger that slides in and out. Trace the door’s travel path—where it stops at the top and bottom—to locate the switch, as it’s positioned to be tripped by a cam or arm attached to the shaft. If you can’t find it, consult the operator’s manual or look for a device connected to the shaft with wires leading to the control board.
Common Failure Symptoms and What They Mean
A failing limit switch often causes the door to run past its intended stop point, either hitting the header or floor seal before reversing or stopping abruptly. You might notice the door cycles inconsistently—sometimes stopping correctly, other times not—especially after temperature changes. Audible signs include a loud click when the switch should actuate, followed by continued motor strain, or a sticky, unresponsive feel when manually testing the lever. Intermittent operation where the door works fine for several cycles then fails suggests internal contact oxidation or mechanical binding rather than complete failure.
Tools and Materials Needed for Safe Lubrication
You’ll need a ladder or lift for safe access, insulated gloves, safety glasses, a lint-free rag, and a small brush (like a toothbrush) for cleaning. Use only NLGI #2 lithium-based grease—avoid WD-40, silicone spray, or petroleum jelly, as they can attract dust, degrade seals, or fail under load. Have a flashlight handy to inspect the switch interior. Never use power tools near the switch assembly; all adjustments should be made by hand after power is disconnected.
Step-by-Step Lubrication Process
First, disconnect power at the breaker and verify it’s off by attempting to operate the door—no movement means it’s safe. Clear any debris around the switch housing with the brush and rag. If old grease is hardened, gently warm it with a hairdryer on low to soften before wiping—never use open flame. Apply a pea-sized amount of lithium grease to the plunger shaft, pivot pins, and any sliding metal surfaces inside the switch mechanism. Do not lubricate the electrical contacts; if they’re corroded, clean them with electrical contact cleaner and a cotton swab, then let dry completely. Move the switch lever or plunger through its full range of motion by hand to distribute the grease, then reconnect power and test the door’s open and close limits. Adjust the travel screws only if necessary, using 1/4-turn increments.
When Lubrication Isn’t Enough
If the switch still binds, feels gritty, or fails to return to position after lubrication, the internal return spring may be broken or the cam worn. Electrical failure—such as the door not responding at all to the switch—indicates burnt contacts or a broken wire, which requires multimeter testing and possibly component replacement. In these cases, the switch unit itself should be replaced. Never lubricate a switch that’s making grinding noises from the motor side; that suggests a separate issue in the drive train or brake assembly.
Safety Boundaries: What Not to Touch
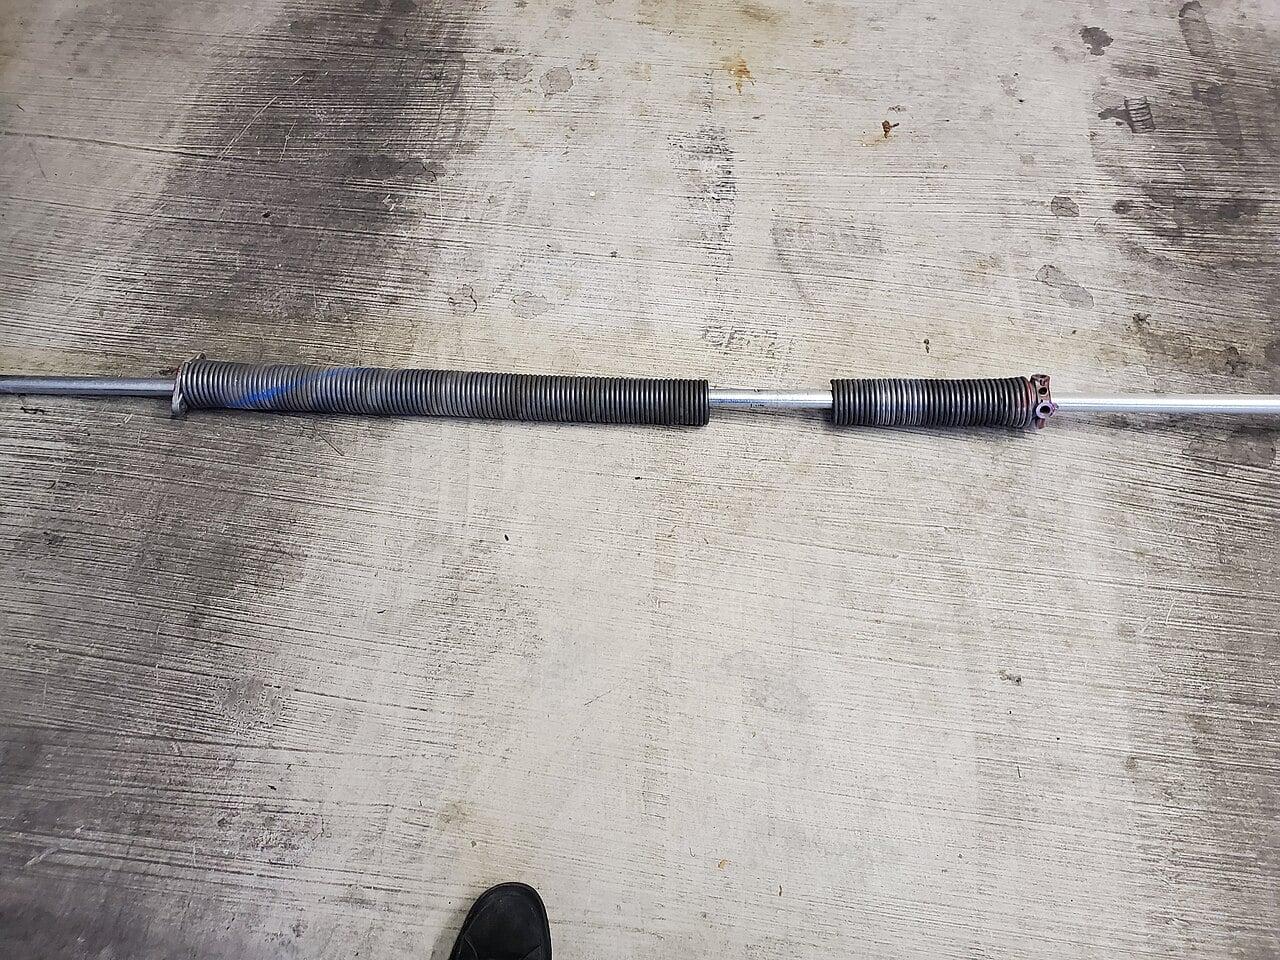
Torsion springs, whether mounted on a torsion shaft above the door or as extension springs on the sides, store immense energy and can cause fatal injury if mishandled. Any adjustment to spring tension, cable drums, or lift cables must be performed only by someone with specific training and proper winding bars. The limit switch is low-risk because it’s isolated from the spring system, but if your investigation leads you toward the shaft, bearings, or brake mechanism, stop and call a technician. Your safety margin is zero when dealing with stored torque.