Replacing a commercial overhead door hinge starts with identifying the failed component and securing the door panel before removal. Hinges on sectional doors bear the weight of the panel and transfer load to the track system; when they crack, bend, or seize, the door may bind, sag, or drop unevenly during operation. You’ll typically hear grinding or popping noises, see visible deformation in the hinge leaf, or notice the door rubbing against the jamb. Before touching anything, disconnect the opener and clamp the track just below the roller to prevent the panel from shifting. Use locking pliers on the roller shaft to hold the door in place while you work.
Types of Commercial Door Hinges and Their Failure Modes
Commercial overhead doors use either standard lift hinges or low-headroom hinges, both typically made of 11-gauge or thicker steel. Standard lift hinges attach to the top of each panel and connect to the roller shaft; low-headroom versions are offset to fit tighter vertical tracks. Failure usually appears as cracked welds where the hinge leaf meets the knuckle, elongated bolt holes from repeated stress, or seized rollers inside the hinge knuckle. In high-cycle environments like warehouses, hinges on the bottom two panels fail first due to impact from forklifts or pallet jacks. Rust alone rarely causes failure unless it’s advanced enough to compromise structural thickness — look for flaking or pitting that exposes bare metal beneath the surface.
Tools and Preparation for Safe Replacement
You’ll need a 9/16” socket or wrench for the hinge bolts, a ratchet, locking pliers (vise grips), a pry bar, and safety glasses. Never attempt this without securing the door — a falling panel can cause serious injury. Place a clamp on the vertical track just below the roller on the side you’re working on, then lock the roller shaft with pliers to prevent rotation. If the hinge is on the end stile, support the panel with a 2×4 brace under the bottom edge before loosening any bolts. Remove the top bolt first, then the bottom — this maintains alignment as you swing the hinge free. Compare the old hinge to the replacement: match the leaf width, knuckle diameter, and offset (if any). Commercial hinges are not universal; using the wrong offset will cause binding.
Removing the Damaged Hinge Without Damaging the Panel
Once the door is secured, remove the bolts attaching the hinge to the panel stile. If bolts are seized, apply penetrating oil and let it sit — do not use heat near the door seals or weatherstripping. After removing the bolts, gently pry the hinge leaf away from the stile; it may stick due to paint or debris buildup. Inspect the stile for elongation or tearing around the bolt holes — if the metal is stretched, you’ll need to reinforce it with a backing plate before installing the new hinge, or the repair will fail quickly. Check the roller inside the hinge knuckle; if it’s pitted or doesn’t spin freely, replace it now — a bad roller will destroy the new hinge in weeks.
Installing the New Hinge and Checking Alignment
Position the new hinge so the roller sits snugly in the track and the leaf lies flat against the stile. Insert the bolts by hand to avoid cross-threading, then torque them to the manufacturer’s spec — typically 25 to 30 ft-lbs for structural hinges on commercial doors. Over-tightening can strip the holes; under-tightening allows movement that accelerates wear. After installation, remove the clamps and pliers, then operate the door manually through a full cycle. Watch for binding at the hinge point, listen for new noises, and verify the roller tracks smoothly in the vertical and curved track sections. If the door lifts unevenly or the hinge binds, recheck the offset and stile alignment — a bent track or worn end bearing can mimic hinge failure.
When Hinge Replacement Isn’t Enough: Related Issues to Investigate
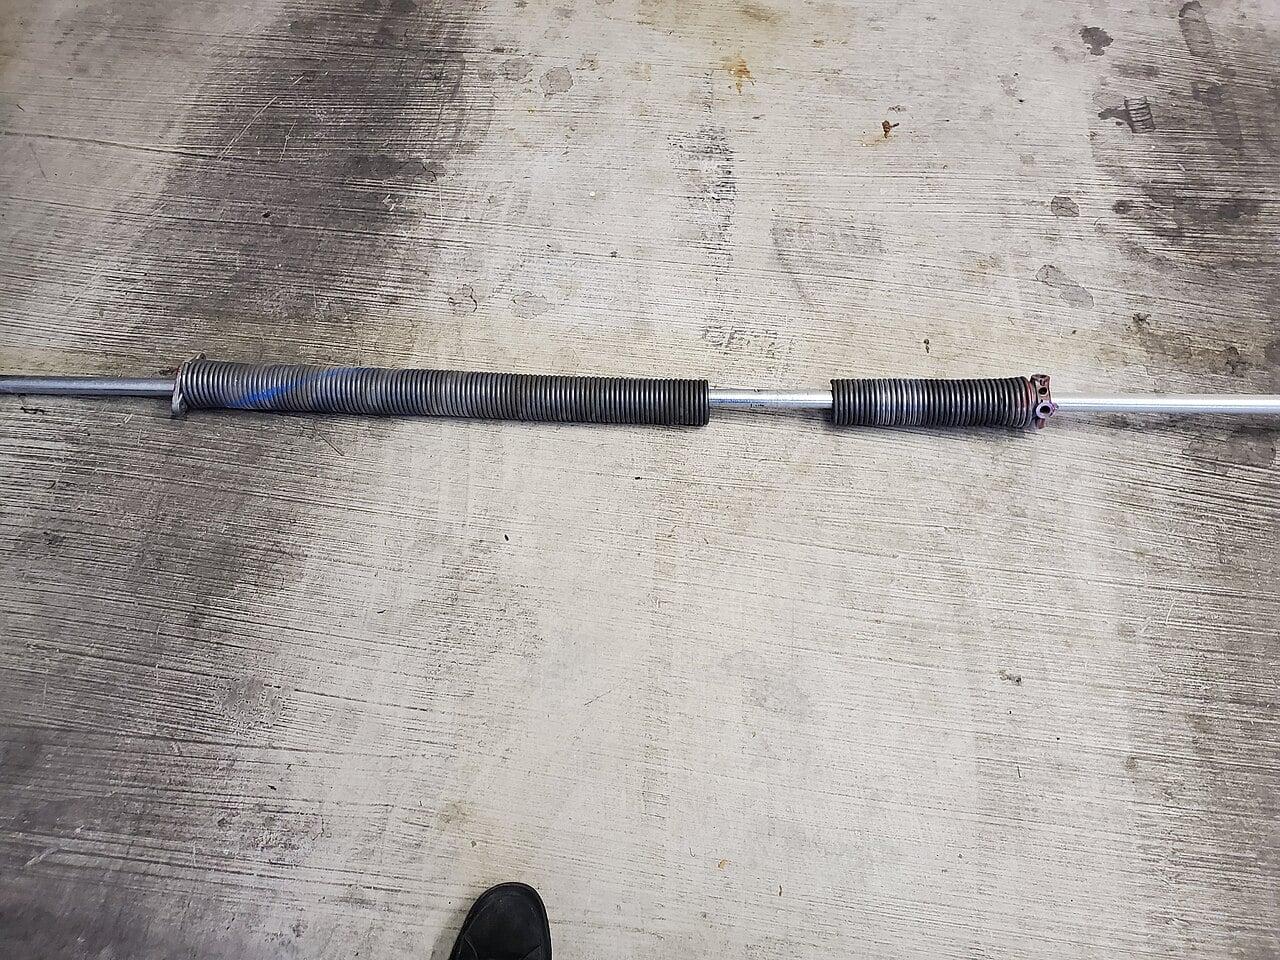
If hinges are failing repeatedly on the same panel, look beyond the hinge itself. Check the lift cables for fraying — a failing cable transfers shock load to the hinges. Inspect the top fixture and bottom bracket for cracks; these anchor the door to the frame and if loose, cause excessive hinge stress. Examine the torsion spring system only visually — never adjust it. Look for gaps in the spring coils, which indicate imbalance, or a spring that’s stretched longer than its original length. Any sign of spring wear or cable damage means the door is operating under abnormal tension. Torsion springs store lethal energy — adjusting or replacing them requires specialized tools and training. If you suspect spring or cable issues, stop and call a qualified technician.
Frequently Asked Questions
### Can I replace a hinge without disconnecting the opener?
No. Always disconnect the opener and secure the door manually before starting. The opener can re-engage unexpectedly if the door is jostled, creating a pinch point or causing the panel to drop. Disconnecting eliminates this risk and lets you control the door’s movement.
How do I know if I need a standard lift or low-headroom hinge?
Measure the distance from the top of the door panel to the bottom of the vertical track. If it’s less than 12 inches, you likely need low-headroom hinges. Standard lift requires more headroom — typically 12 inches or more — to accommodate the vertical track radius. When in doubt, take a photo of the existing hinge and track setup.
### Is it okay to reuse the old bolts if they look fine?
No. Reusing bolts risks fatigue failure — the threading and under-head area endure cyclic stress that weakens the metal invisibly. Always use new bolts of the same grade and size. Hardware is cheap compared to the cost of a door panel dropping or a hinge failing mid-cycle.