Aligning the sensors on a commercial overhead door keypad is a straightforward task when the issue is simply misaligned photo-eyes. The sensors are a pair of infrared transmitters and receivers mounted near the floor on either side of the door opening. When the beam between them is interrupted—by misalignment, dirt, or obstruction—the door will not close and may reverse or flash an error code on the keypad. This is a safety feature designed to prevent the door from striking people, vehicles, or equipment. If the door refuses to close and the keypad shows a flashing light or error code like ‘Sensor Fault’ or ‘OBSTRUCTION,’ misaligned sensors are a common first check.
Understanding How the Safety Sensors Work
Each sensor pair consists of an emitter that sends an invisible infrared beam and a receiver that expects to detect it. The emitter is usually mounted on one side of the door track, the receiver on the opposite side, both about 4–6 inches above the floor. For the door to close, the receiver must see a steady, uninterrupted signal. If the beam is broken, the door controller assumes an obstruction and stops or reverses the door. The keypad often indicates this with a flashing light—typically the receiver’s LED will blink rapidly when it loses the signal, while the emitter’s LED stays solid. This feedback helps diagnose which unit is not communicating properly.
Common Causes of Sensor Misalignment
Misalignment rarely happens without cause. In industrial settings, sensors get bumped by pallet jacks, forklifts, or rolling carts. Vibration from heavy door cycling can loosen mounting brackets over time. Dust, debris, or condensation on the lens can scatter the beam, mimicking misalignment. In rare cases, wiring damage from rodents or pinched conduits can interrupt power, but this usually results in no LED activity at all. Before adjusting, inspect the lenses for dirt and wipe them gently with a dry microfiber cloth. Check that both LEDs are powered—if neither lights up, the issue may be electrical, not alignment.
How to Visually Check Sensor Alignment
Start by observing the LED status on both sensors. The emitter’s LED should be steadily lit. The receiver’s LED should also be steady if aligned and unobstructed. If the receiver’s LED is off or flashing rapidly, it is not detecting the beam. Stand inside the door opening and look along the sensor’s line of sight. You should see the emitter’s lens clearly from the receiver’s position. If the receiver appears to be pointed too high, too low, or sideways relative to the emitter, alignment is off. Use a laser level or a string stretched between the two units to verify they are level and parallel to each other and to the floor. Even a few degrees of tilt can break the beam.
How to Realign the Sensors
Loosen the mounting screws on the receiver bracket just enough to allow movement—do not remove them entirely. While watching the receiver’s LED, slowly adjust the unit up, down, left, or right until the LED turns solid and stops flashing. Once solid, tighten the screws in small increments, checking after each turn that the LED remains steady. Repeat the process on the emitter if needed, though it rarely requires adjustment unless it was physically displaced. After securing both, test the door by closing it from the keypad. It should close smoothly without reversing. If the LED flickers during tightening, loosen and re-adjust—vibration can shift the unit slightly as torque is applied.
When Sensor Alignment Isn’t the Problem
If the receiver’s LED stays off despite power and alignment efforts, check the wiring. Look for frayed wires, loose terminals at the sensor or at the door controller, or corrosion in wet environments. Use a multimeter to verify voltage at the sensor terminals—typically 12–24V AC or DC depending on the model. If voltage is present but the LED never lights, the receiver may be failed. If the emitter’s LED is off, check its power source and wiring. Never bypass or disable the safety sensors—this violates workplace safety codes and creates a serious hazard. If the door still won’t close with solid sensor LEDs, the issue may lie in the door controller, wiring harness, or keypad itself.
Safety Limits: What Not to Touch
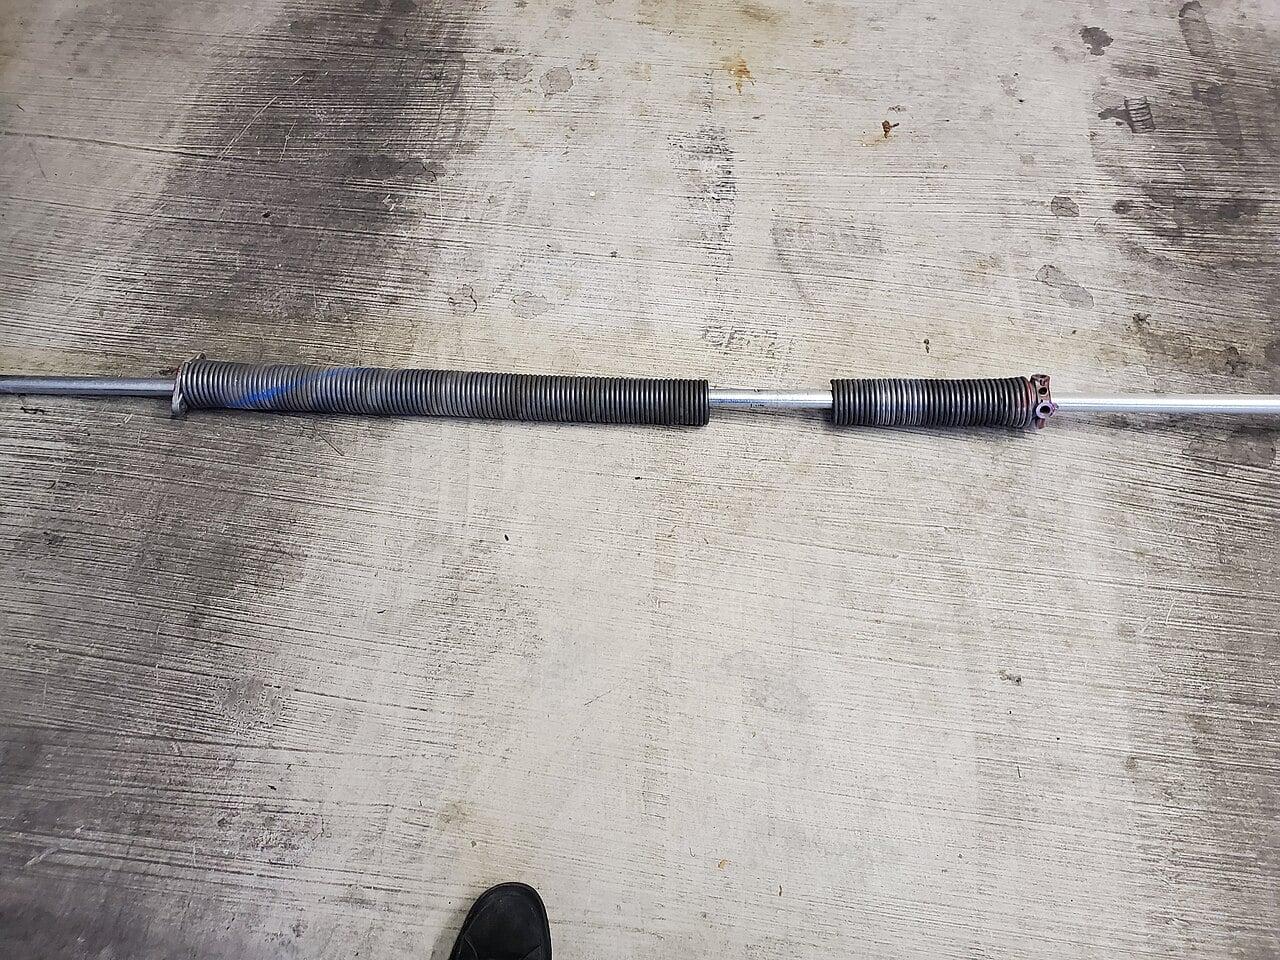
While sensor alignment is a safe DIY task for facility staff, never attempt to adjust, remove, or repair torsion springs, extension springs, cables, or the door’s bottom bracket. These components operate under extreme tension and can cause severe injury or death if released improperly. Similarly, do not open the door controller or keypad housing to troubleshoot internal electronics unless you are a qualified technician. Working on live voltage or motor drive systems requires specific training and lockout/tagout procedures. If your inspection points to anything beyond sensor lenses, mounting brackets, or visible wiring, stop and contact a qualified service provider.
Frequently Asked Questions
How often should commercial door sensors be checked?
Inspect sensor lenses and LED status monthly as part of routine preventive maintenance. In high-traffic or dusty environments, check weekly. Always verify alignment after any impact near the door track or after servicing the door.
Can sunlight interfere with the sensor beam?
Direct sunlight can overwhelm the receiver, especially at low sun angles. This typically causes intermittent faults during certain times of day. Using sun shields or slightly adjusting the sensor angle away from direct exposure can help, but the beam must still reach the receiver.
What does it mean if both sensor LEDs are flashing?
If both LEDs are flashing, it usually indicates a wiring or power issue rather than alignment—such as a broken wire, loose connection, or failed controller output. Verify power at the sensor terminals before assuming alignment is the root cause.
CCGDS (604) 206-5727