Short answer. LiftMaster GH troubleshooting differs from the J and H because there's no V-belt clutch and the brake is standard. The worm gear reducer runs in an oil bath, so a GH that stalls on an obstruction will not slip the way a belt unit does. Lock out power and check the hoist interlock first. Then find out if the optional clutch modification was ever installed.
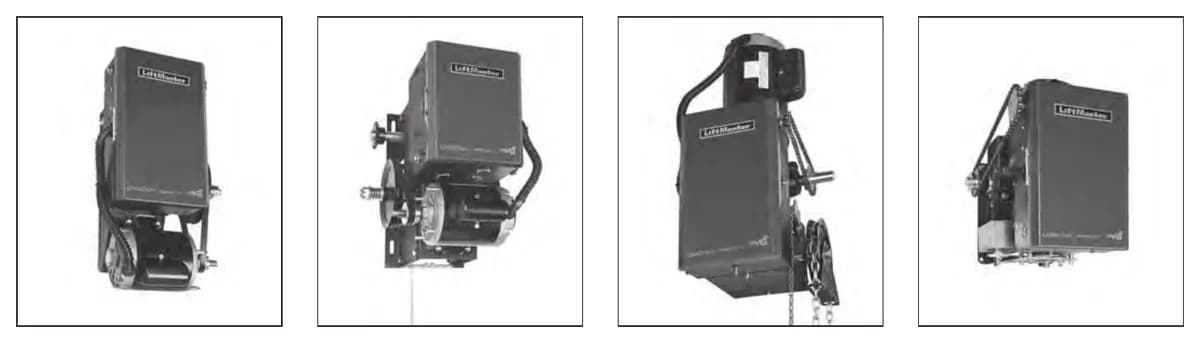
The GH is the gearhead hoist in the Logic 5.0 family. LiftMaster builds it for heavy industrial doors running 25 cycles an hour and more than 90 a day. It goes up to 3 HP, with 5 HP listed as "call for specifications". This LiftMaster GH troubleshooting page covers what makes the GH its own animal. Shared board codes are on the Logic 5.0 error code page.
Lock out the power and tag it before you open anything. The doors these units run are big and heavy. Spring and cable work is for a trained tech, full stop.
How the GH gearbox differs
Per the Logic 5.0 installation manual, the GH primary reduction is a worm gear in an oil bath. The ratio is 45:1 for 1/2, 3/4 and 1 HP, then 44:1 for 1-1/2 and 2 HP, and 42:1 for 3 HP. Output is #50 chain and the bearings are sealed roller bearings in the reducer. Door speed is about 8 to 9 inches per second.
No belt means no belt clutch. That matters for diagnosis. On a J you expect slip when the door binds. On a stock GH the drive just pushes, and the Logic 5.0 auxiliary reversal system does not apply to the GH unless the clutch modification is installed. If a GH stalls hard, find out what the door is hung up on before anything else.
The optional GH clutch
LiftMaster offers a clutch as an optional modification on the GH. The manual adjustment is to loosen the three set screws on the clutch nut and back the nut off until there's very little tension on the clutch spring. Then tighten it gradually until the operator moves the door smoothly but lets the clutch slip on an obstruction. LiftMaster says a properly set GH clutch should generally let you stop the door by hand during travel.
Once a clutch is fitted, the RPM sensor can catch a slipping clutch and reverse the door. Without it, that feature is off. We'd fit the clutch on any GH that runs a door near people or vehicles. It is cheap insurance on a door this heavy.
Brake problems
The brake is standard on every GH. When a GH door creeps down after stopping, inspect the solenoid brake pad first. That's on LiftMaster's maintenance chart. Then check spring balance, because a door that's lost spring tension will ride through a good brake.
If the operator won't answer any command and the motor is hot, the manual lists a tripped thermal overload. Let the motor cool. Then run one full cycle on constant pressure, OPEN and then CLOSE, to reset it.
Hoist interlock and hand chain
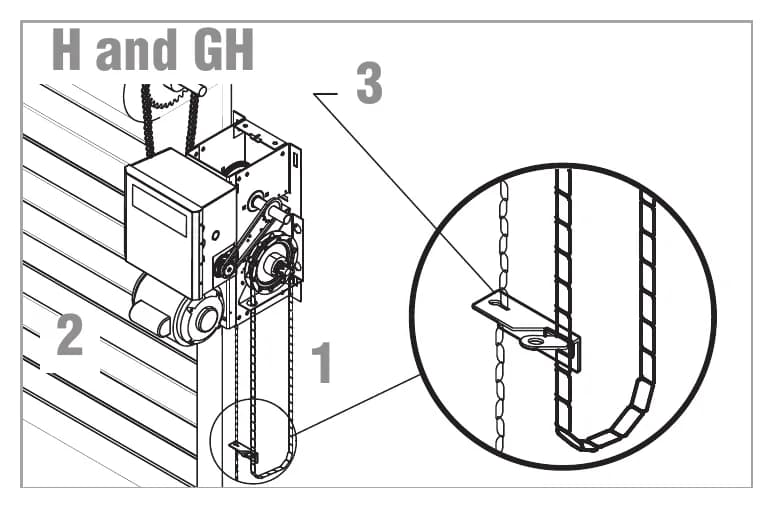
The GH has the same manual hoist and electrical interlock as the H. Pull the disconnect chain to engage the hoist, crank the door with the hand chain, then release the disconnect chain from the keeper before running it electrically. A dark Power LED with the chain locked in the keeper is the interlock doing its job. The H series troubleshooting page walks through that fault.
Handing is easier on the GH. From 1/2 through 2 HP, the hand chain wheel can be switched in the field. The 3 HP GH is ordered left or right like the H. The manual notes the hand chain wheel sticks out 1-5/8 inches past the operator when vertically mounted, so give it room.
Shaft keys and sprockets
A GH that has spun a sprocket usually has the wrong key in it. The manual lists the output shaft key by size. It's 1 inch by 1/4 inch for 1/2 through 1 HP, 1-3/16 by 5/16 inch for 1-1/2 and 2 HP, and 1-1/4 by 1/4 inch for 3 HP. Mounting centres also change at 3 HP. You can't swap a 3 HP GH onto an old 2 HP bracket without checking the hole pattern.
Set screw torque on the sprockets is 34 to 45 inch pounds, and LiftMaster recommends thread adhesive. Keep the drive sprocket near the middle of the exposed shaft to avoid an overhung load on the reducer.
Oil and lubrication
The GH reducer runs in its own oil bath. Outside the gearbox, the Logic 5.0 maintenance chart calls for SAE 30 oil on the drive chain and bearings. Never grease or silicone spray, and never oil the motor. Check the drive chain for slack and the sprocket set screws for tightness on the same visit.
Three phase wiring on a GH
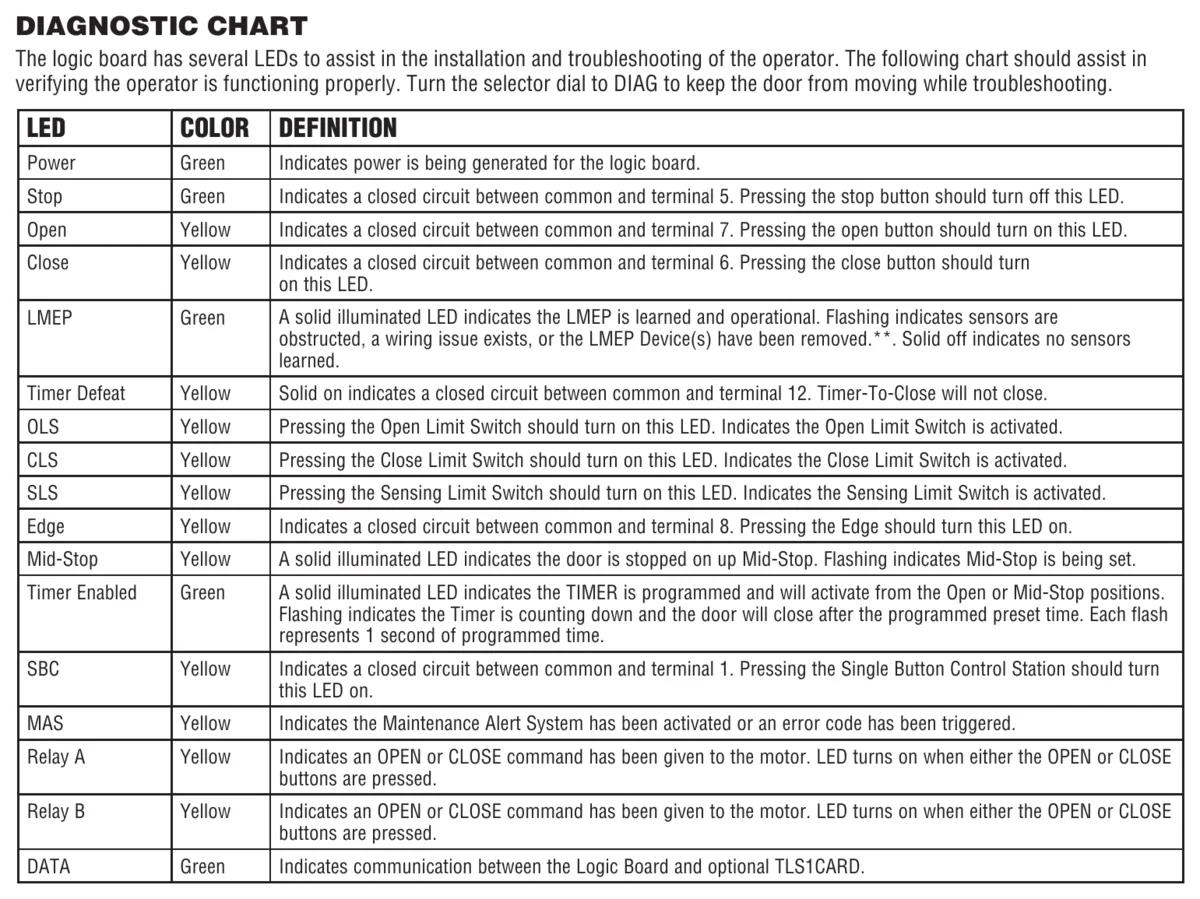
On a three phase GH, if the door runs the wrong way on a new install, swap incoming L1 and L2. A 12 blink code on a three phase board points at the current sense harness. An 8 blink code means brownout or under voltage, and the manual says too many accessories on the transformer can cause it. An 11 blink code means over voltage. Supply should be within 10 percent of the rated voltage.
Getting a GH looked at
CCGDS works on GH gearhead hoists across Metro Vancouver. Call (604) 206-5727, 24 hours. There's more on the GH model page and the LiftMaster repair hub.